[Cleaning Guide] How to Deep Clean Your Kitchen

Welcome to our comprehensive room-by-room cleaning guide! In this series, we’re diving deep into each space of your home to help you achieve a sparkling clean environment, it’s time to focus on another crucial area: the kitchen.
The kitchen is the heart of the home, where meals are prepared and family gatherings often take place. A clean kitchen not only promotes better hygiene but also makes cooking and dining more enjoyable. From scrubbing away grease to organizing your pantry, this guide will walk you through a comprehensive deep clean to ensure your kitchen is spotless and inviting.
Let’s dive into making your kitchen shine!
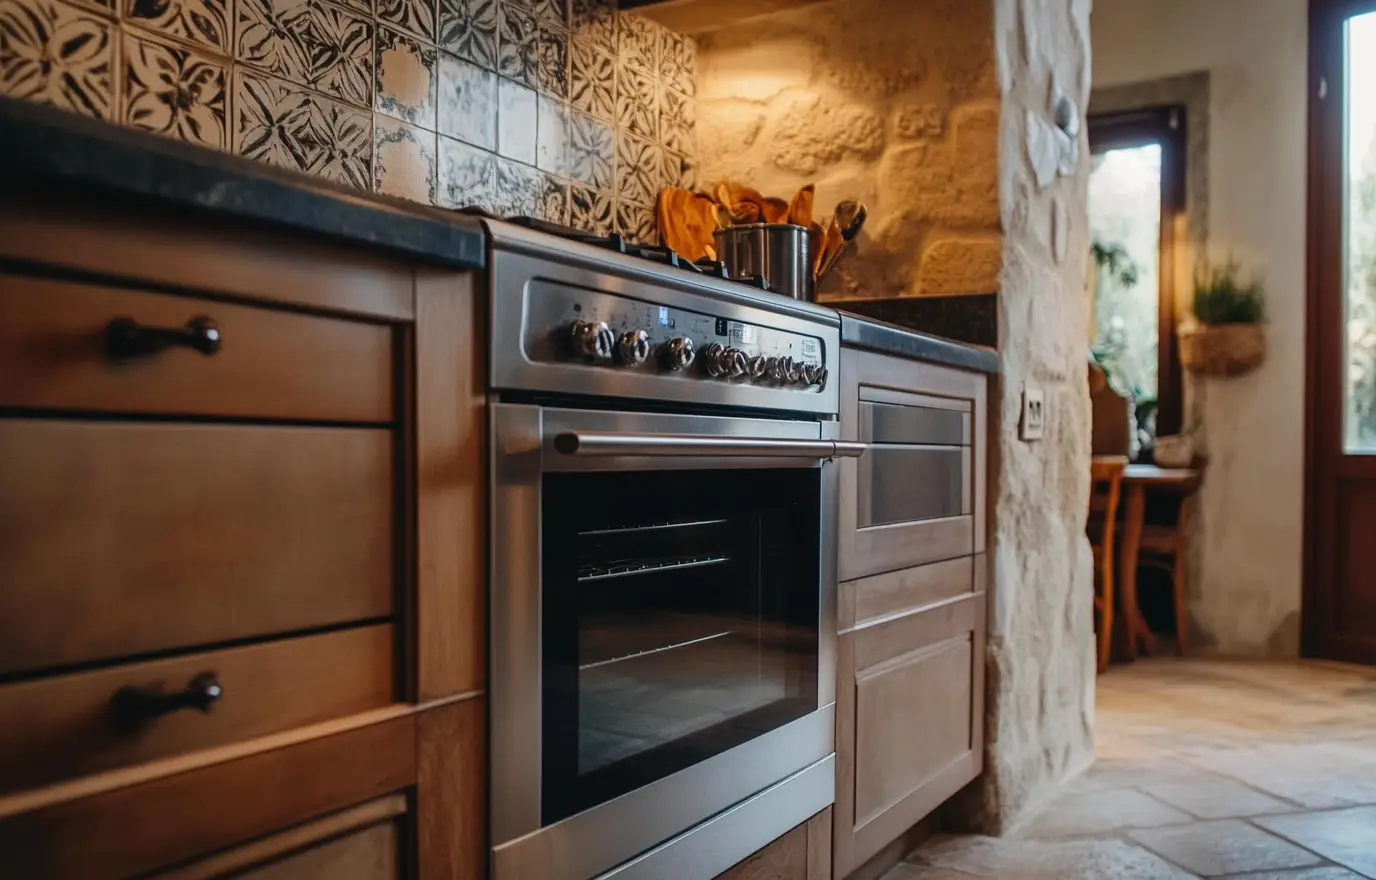
1. Clean the Oven
Start by tackling the oven, a key area that often collects stubborn grease and food residue. If your oven doesn’t have a self-cleaning function, mix 5 tablespoons of baking soda, 5 drops of dish soap, and 4 tablespoons of vinegar to form a thick paste. Apply this paste generously to the interior of the oven, focusing on greasy spots and buildup. Let it sit for a few minutes to break down the grime, then scrub with a non-abrasive sponge or brush until the surface is clean. For persistent stains, cut a lemon in half, apply dish soap to the cut side, and rub it over the stains. After scrubbing, wipe the area with a damp cloth to remove any remaining residue.

Editor’s Pick: Amazon Fresh, Baking Soda
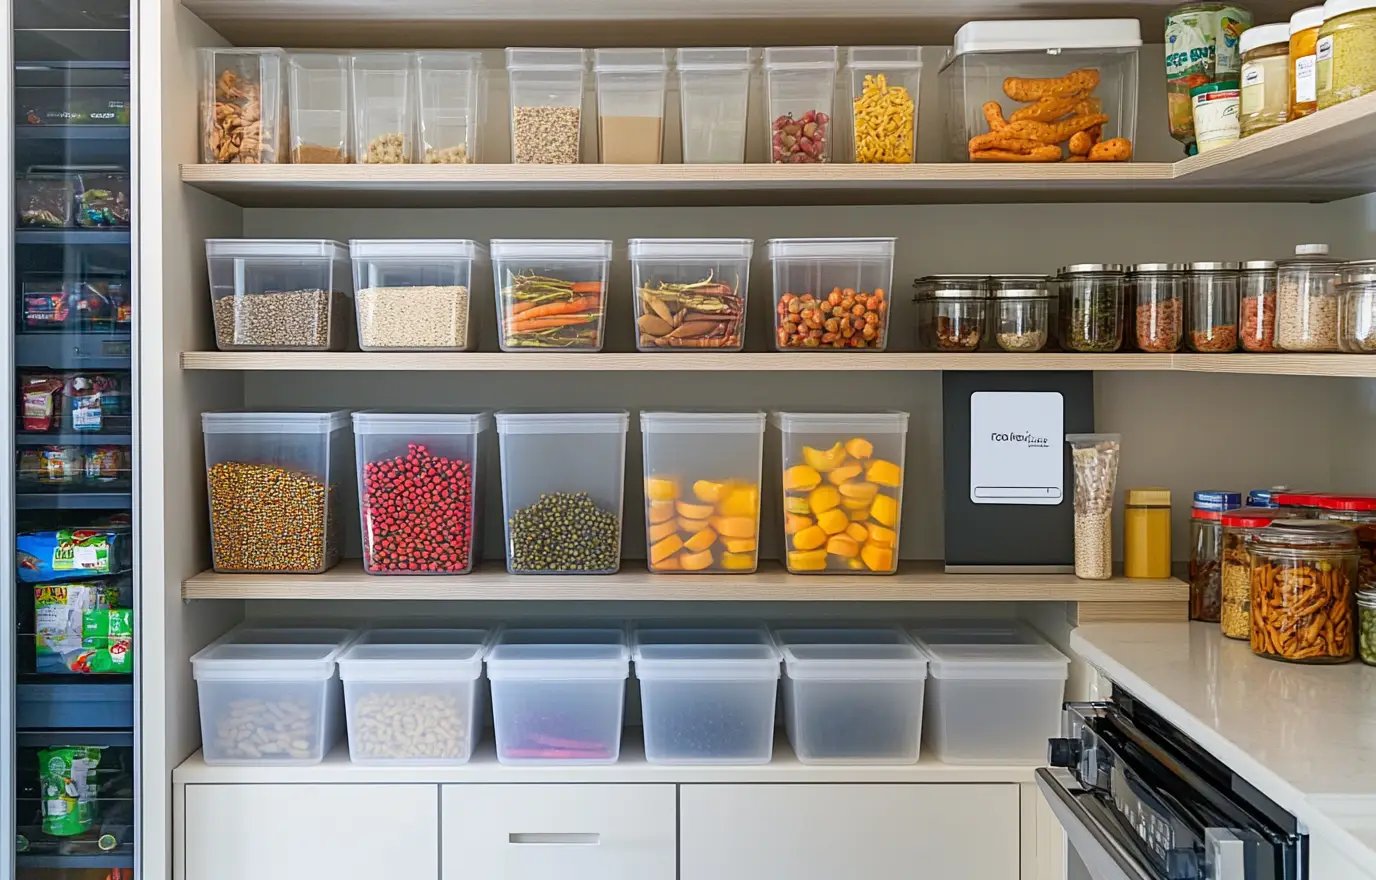
2. Organize the Pantry
Empty your pantry completely and clean the shelves with a damp cloth to remove dust and crumbs. Once dry, organize your pantry items systematically. Use clear bins or containers for items like baking supplies, pasta, and cereals to keep them organized and easily accessible. Separate your pantry into sections for different food types, such as breakfast items, snacks, and dinner ingredients. Consider adding shelf risers to maximize space and keep everything visible. For easy inventory management, mount a dry-erase board inside the pantry door to keep track of what you have and what you need to buy.
3. Clean Out the Microwave
Cleaning the microwave is straightforward but crucial. Fill a microwave-safe bowl with a cup of water and add a tablespoon of vinegar. Place the bowl in the microwave and heat on high for five minutes. The steam will loosen any food splatters and make them easier to wipe away. Carefully remove the bowl (it will be hot) and wipe the interior of the microwave with a clean, damp cloth. For extra shine, you can also clean the turntable and the microwave’s exterior with a suitable cleaner.

Editor’s Pick: VIZ-PRO Magnetic Dry Erase White Board

Editor’s Pick: Amazon Brand - Happy Belly Distilled Vinegar

4. Disinfect the Sink
The kitchen sink can be a hotspot for bacteria, especially if you handle raw meat. Start by removing any items from the sink and then scrub the basin thoroughly with a disinfectant or a mixture of bleach and water. Use a brush or cloth to clean the faucet, handles, and any crevices where germs might lurk. Rinse the sink thoroughly to remove any chemical residues. For added sanitation, you might also use a disinfectant wipe to clean the sink’s exterior and the surrounding area.
5. Wipe Down the Countertops
Clear your countertops of all items, including small appliances, utensils, and decorative items. Use a disinfectant spray or cleaning wipes to thoroughly clean all surfaces. Pay special attention to edges, corners, and any areas behind appliances where crumbs and spills might accumulate. Don’t forget to clean the backsplash and any wall-mounted shelves. For a finishing touch, disinfect door handles and light switches in the kitchen.

Editor’s Pick: Lysol Pro Kitchen Spray Cleaner and Degreaser
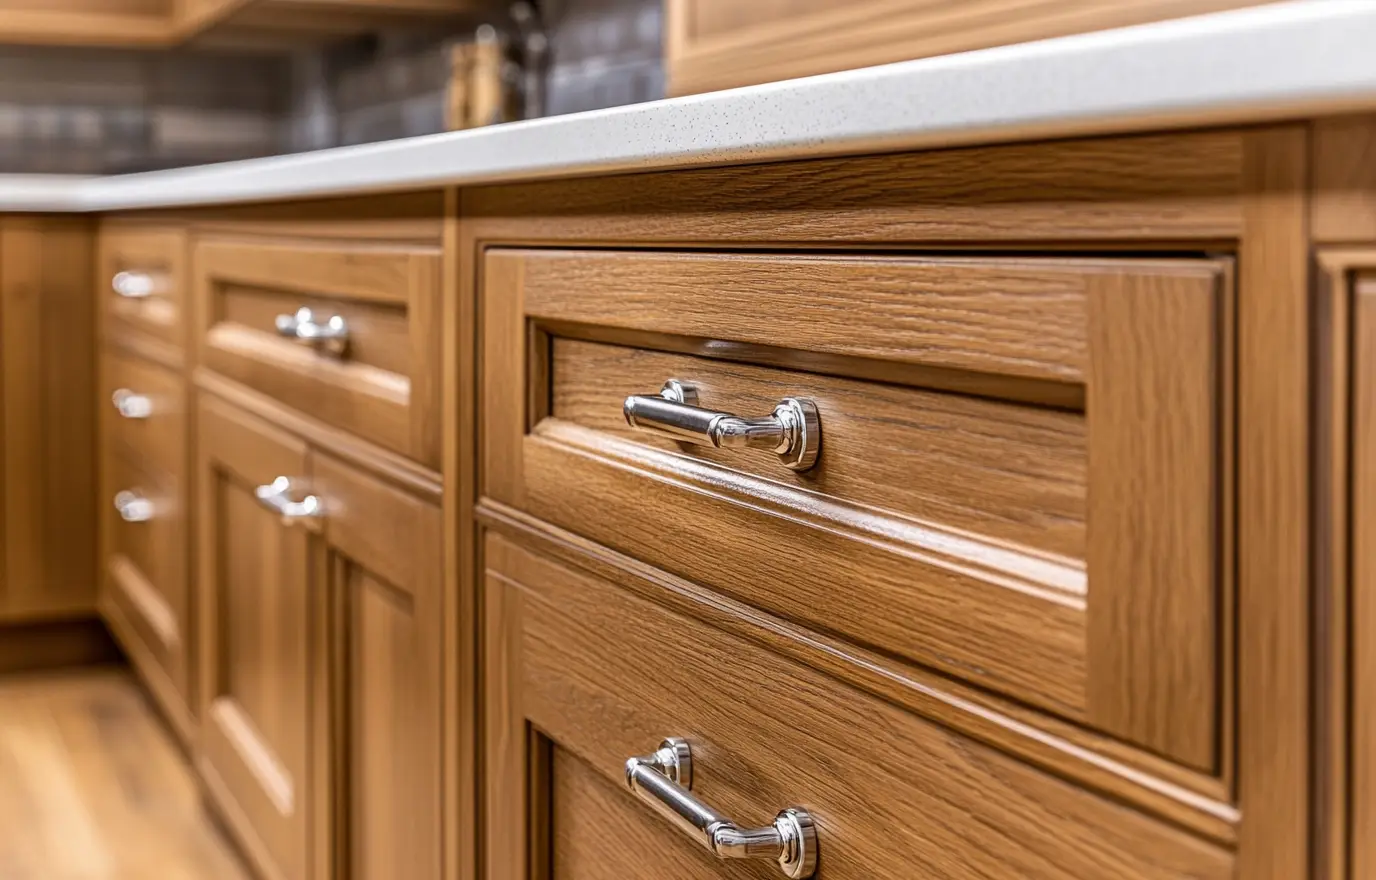
6. Wipe Down Cabinets
Begin by cleaning both the inside and outside of your kitchen cabinets. Use a damp rag to gently remove dust and dirt from the cabinet doors and all sides of the cabinets, including the top. For grease splatters, dip your cloth in undiluted vinegar to break down the grease, then rinse the rag in warm water to wipe off any remaining vinegar. Be cautious with the amount of moisture you use, as excessive water can cause wood cabinets to swell. Always wring out your rag well before wiping and dry the surface immediately with a paper towel.
Tip: To prevent dust accumulation on top of your cabinets, cut newspaper to size and place it on top. The newspaper will collect dust over time, and you can simply replace it during your next deep cleaning session.
7. Vacuum Out the Refrigerator Coils and Vent
Use a vacuum cleaner with a hose or brush attachment to clean the refrigerator coils and vents, which are often hidden behind the appliance. If you prefer, you can rent an air compressor to blow out the dust and debris from these components. Keeping these areas clean helps maintain the efficiency of your refrigerator.
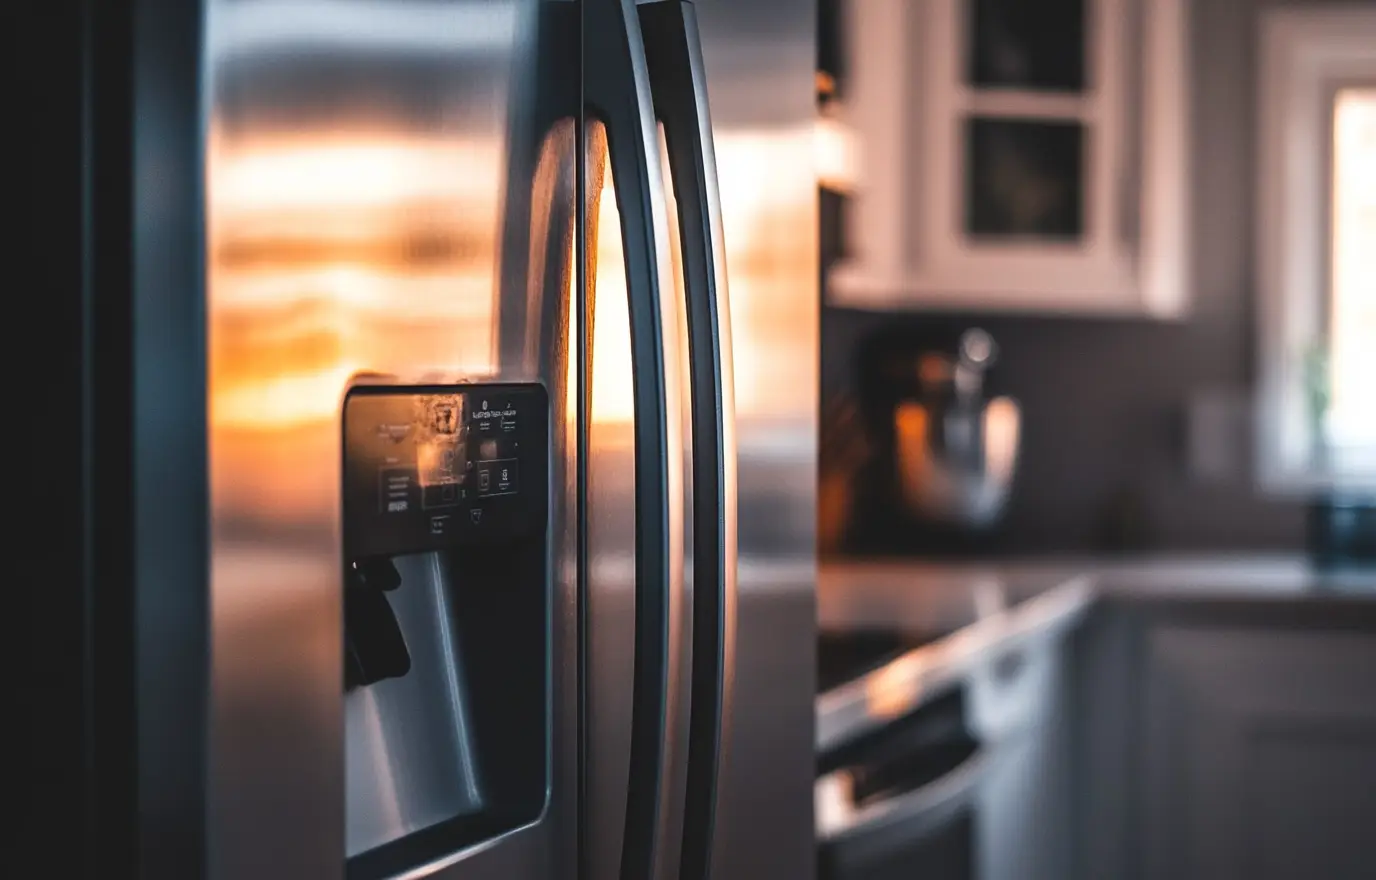
8. Clean Out the Fridge and Defrost the Freezer
Remove all items from your fridge and freezer. Clean the shelves and interior walls, starting from the top and working your way down to catch any food debris and spills. Check expiration dates on all items before placing them back. Wipe down the exterior of the fridge and freezer, paying particular attention to disinfecting the door handles to eliminate any bacteria.

Editor’s Pick: BISSELL CleanView Compact Turbo Upright Vacuum
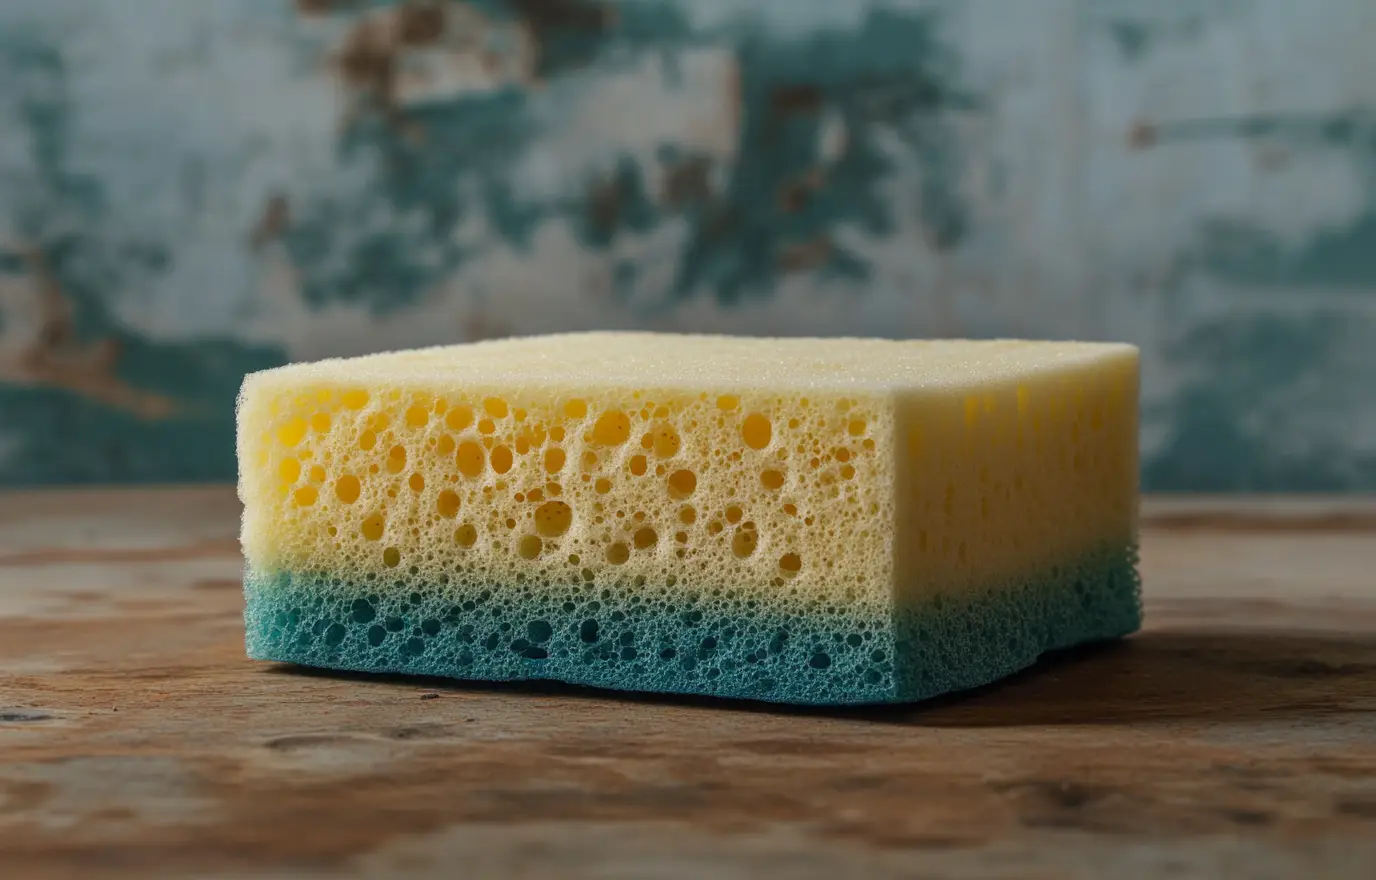
9. Throw Out Old Sponges
Sponges are breeding grounds for bacteria, even if you microwave them. Disinfect sponges regularly by soaking them in a bleach-water solution (3/4 cup bleach to 1 gallon of water) for five minutes. However, replace them every few weeks or opt for reusable silicone scrubbers, which are easier to disinfect and more durable.

Editor’s Pick: Clorox 30966 Concentrated Regular Bleach
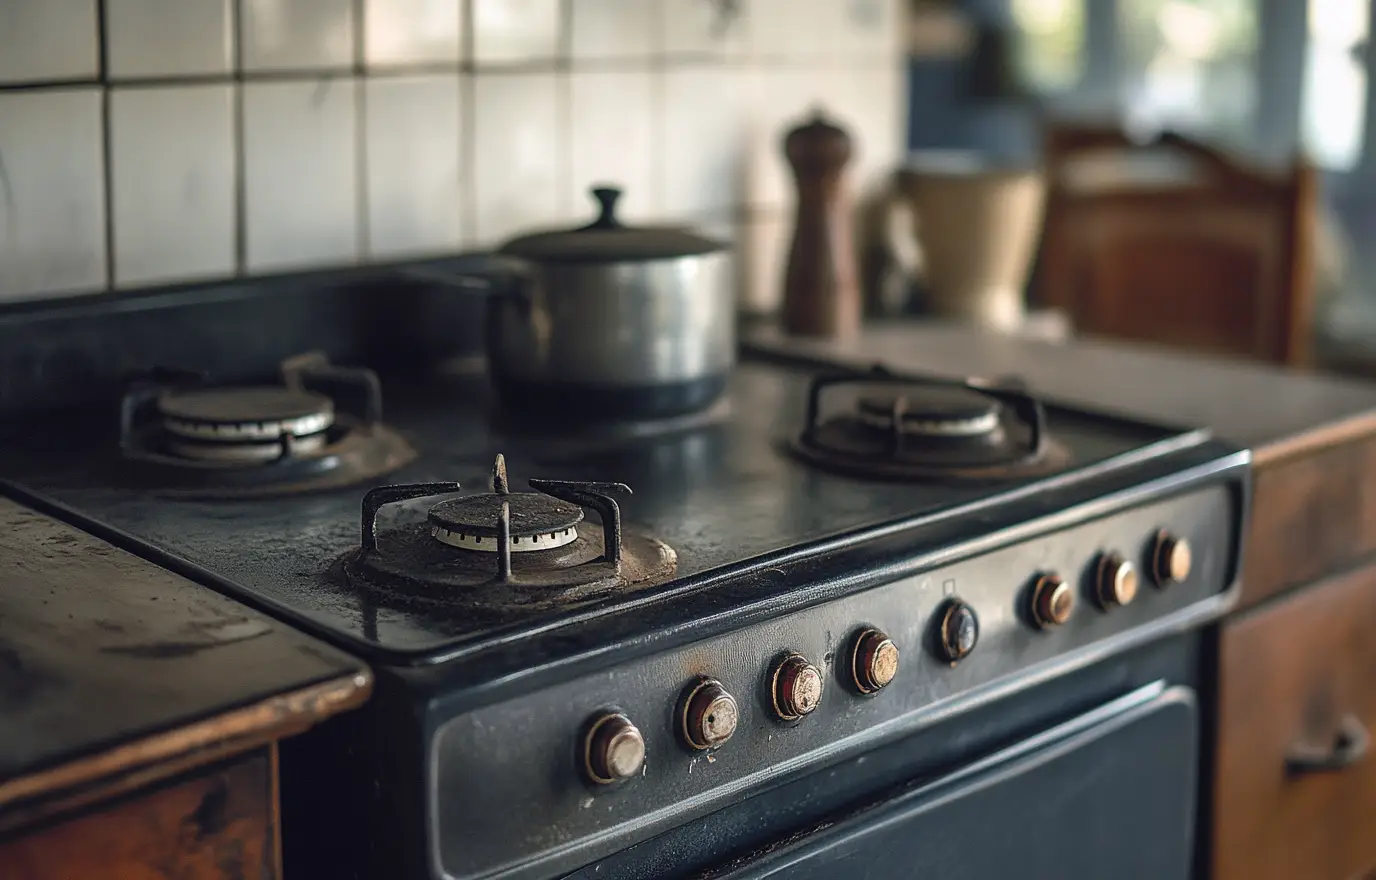
10. Scrub Down the Stove Top and Vent
Clean your stovetop and range hood by removing greasy dust with mineral oil. Apply the oil to the greasy surfaces, then use warm water and dish soap to remove the oil and grime. For gas stovetops, coat the surfaces with car wax (excluding the grates) to make future clean-ups easier.

Editor’s Pick: Meguiar's Quik Wax

These steps will ensure that every aspect of your kitchen is thoroughly cleaned and organized, contributing to a more efficient and pleasant cooking environment. Enjoy the refreshed and spotless space!
![]() Top Headlines
Top Headlines